Proper water pressure is essential for the smooth functioning of your home’s plumbing system. It ensures that showers are invigorating, appliances run efficiently, and there are no unexpected leaks or drips. Incorrect water pressure can lead to a myriad of problems, from irritatingly slow water flow to potentially damaging bursts in pipes.
This comprehensive guide will walk you through everything you need to know about testing and adjusting your home’s water pressure. We’ll cover what normal water pressure should be, how to test it, identify potential issues, and steps to adjust it if necessary.
What is the Normal Water Pressure for a House?
For a typical home, the normal water pressure range is between 40 and 60 psi (pounds per square inch). This range is considered optimal for most household activities, providing enough force to ensure proper function without causing undue stress on the plumbing system.
Effects of Low and High Water Pressure
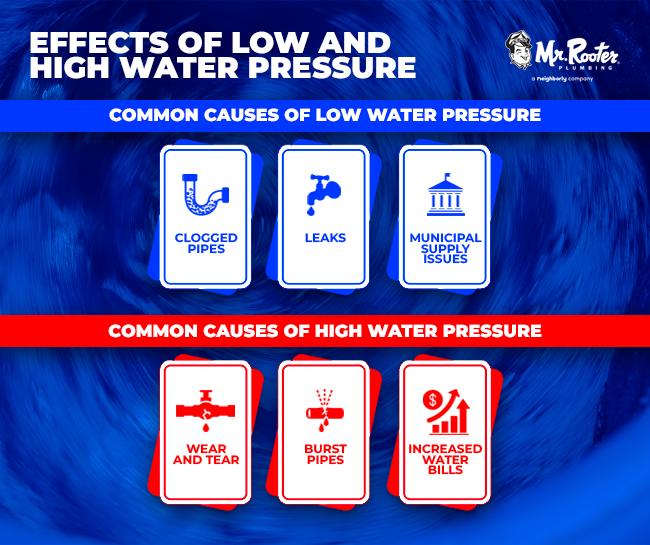
Low water pressure can be a nuisance in many ways. It can make showers less enjoyable, as the water flow might be too weak to rinse off soap and shampoo effectively. Dishwashers and washing machines may also perform poorly, leading to less clean dishes and clothes. Additionally, filling a bathtub can become a time-consuming task. Common causes of low water pressure include:
- Clogged Pipes: Mineral deposits and debris can build up in pipes, restricting flow.
- Leaks: Even small leaks can significantly reduce pressure.
- Municipal Supply Issues: Sometimes, the problem lies with the city’s water supply.
On the other hand, high water pressure, while initially seeming beneficial, can cause significant problems over time.
- Wear and Tear: High pressure can lead to the wear and tear of plumbing fixtures, causing them to fail prematurely.
- Burst Pipes: Continuous high pressure can stress pipes, increasing the risk of bursts.
- Increased Water Bills: More water flows through the system at high pressure, leading to higher water consumption and bills.
Continuous high pressure can also damage appliances, such as water heaters, dishwashers, and washing machines, resulting in costly repairs or replacements. Maintaining the correct water pressure helps ensure that your plumbing system operates smoothly and efficiently.
How to Test Water Pressure at Home
Testing water pressure at home is crucial for maintaining an efficient plumbing system. Here’s a step-by-step guide to help you check and manage your water pressure effectively.
Locating the Main Water Supply
Before testing water pressure, you need to locate the main water supply valve in your home. This valve is typically found in the basement, near the water meter, or where the main water line enters your home. Ensure the valve is fully open to get an accurate reading.
Attaching the Water Pressure Gauge
A water pressure gauge is a tool that measures the force of water flowing through your pipes. You can purchase one at most hardware stores. To test the pressure, follow these steps:
- Turn Off All Water-Using Appliances: Ensure all faucets, showers, and appliances are off.
- Choose a Test Point: The best place to test is usually an outdoor spigot or the washing machine hose bib.
- Attach the Gauge: Screw the gauge onto the test point tightly to prevent any leaks.
Reading and Recording the Pressure
Once the gauge is securely attached, turn on the water to the test point. The gauge will provide a reading in psi. Record this reading. A reading between 40 and 60 psi is ideal.
Interpreting the Results
Below 40 psi: Indicates low water pressure. Potential causes include clogs, leaks, or issues with the municipal supply.
Above 60 psi: Indicates high water pressure. This can be due to a malfunctioning pressure regulator or high municipal supply pressure.
Testing Multiple Fixtures
To ensure consistent water pressure throughout your home, it’s important to test multiple fixtures. Follow the same steps at different points, such as kitchen faucets, bathroom sinks, and showers. Consistent readings across fixtures indicate stable pressure, while variations suggest localized issues.
💡 By following these steps to test your water pressure, you take proactive control of your home’s plumbing health, ensuring it remains reliable and efficient for years to come.
Identifying Potential Issues
Identifying potential water pressure issues is essential for maintaining your home’s plumbing system. Understanding common causes of low and high water pressure helps you address problems early, ensuring optimal performance and preventing costly repairs.
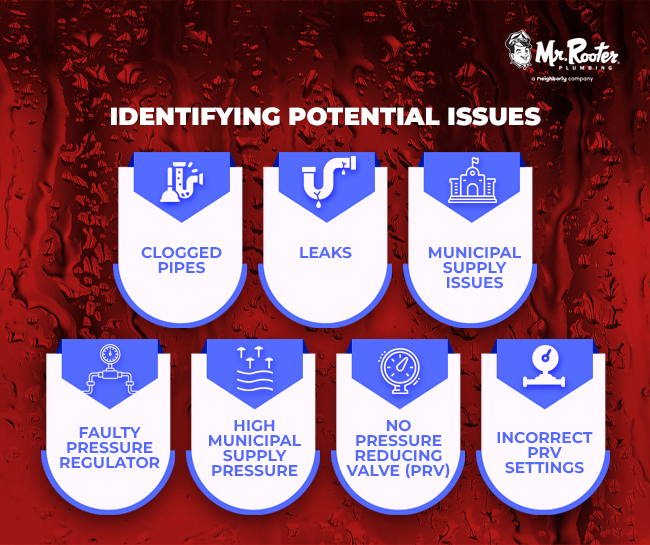
- Clogged Pipes: Mineral deposits and debris build-up restricts flow.
- Leaks: Even small leaks can significantly reduce pressure.
- Municipal Supply Issues: Problems with the city’s water supply.
- Faulty Pressure Regulator: A malfunctioning regulator can cause fluctuations, leading to low or excessively high pressure.
- High Municipal Supply Pressure: The city’s supply pressure may be too high.
- No Pressure Reducing Valve (PRV): Lack of a PRV to manage incoming pressure.
- Incorrect PRV Settings: The PRV may be set too high.
How to Adjust Water Pressure in Your House
Adjusting your home’s water pressure is essential for maintaining an efficient plumbing system. Here’s how you can increase or decrease water pressure as needed:
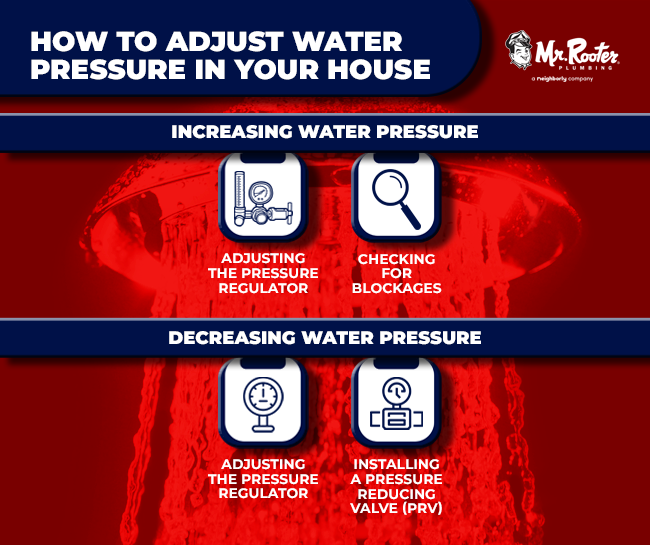
Increasing Water Pressure
Adjusting the Pressure Regulator: Most homes have a pressure regulator on the main water line. To increase the pressure, locate the regulator (usually found near the main shutoff valve) and turn the screw clockwise. Make small adjustments and recheck the pressure with your gauge.
Checking for Blockages: Inspect your pipes and fixtures for blockages. Clean aerators on faucets and showerheads. If mineral deposits are the issue, consider using a descaling solution or contacting a professional for thorough cleaning.
Decreasing Water Pressure
Adjusting the Pressure Regulator: To decrease water pressure, locate the pressure regulator and turn the screw counterclockwise. Again, make small adjustments and monitor the pressure.
Installing a Pressure Reducing Valve (PRV): If adjusting the regulator doesn’t suffice, installing a PRV might be necessary. This valve helps maintain consistent pressure levels and can protect your plumbing from high-pressure damage. Installation might require professional assistance, especially if you’re unfamiliar with plumbing work.
When to Call a Professional
While many water pressure issues can be addressed with DIY methods, certain situations warrant professional intervention:
- Persistent Low or High Pressure: If adjustments don’t resolve the issue.
- Significant Leaks: If you suspect hidden leaks.
- Complex Installations: Such as installing a PRV or replacing a faulty regulator.
💡By regularly monitoring and adjusting your home’s water pressure, you can ensure the longevity and efficiency of your plumbing system.
Maintaining proper water pressure in your home is crucial for the efficiency and longevity of your plumbing system. Regular testing and adjustments can prevent a range of issues, from minor inconveniences to major repairs. By following this guide, you can ensure your home’s water pressure remains within the optimal range, providing you with a reliable and efficient water supply.
For more home maintenance tips and plumbing advice, be sure to check out our other articles. If you encounter any complex issues or need professional assistance, don’t hesitate to contact a licensed plumber.
By understanding and managing your home’s water pressure, you can protect your plumbing system and enjoy a more efficient and reliable water supply. Regular maintenance and timely adjustments can save you from potential headaches and costly repairs in the future.