Maintaining your well pump is a cornerstone of ensuring a reliable water supply for your home. This vital equipment, often out of sight, should not be out of mind, as its performance is essential to your daily needs. In this guide, we’ll walk through how to effectively check your well pump, empowering you with the knowledge to identify issues, troubleshoot problems, and understand when to call in the professionals. Regular checks can save you time, money, and avoid the inconvenience of water shortages.
Signs Your Well Pump Might Be Failing
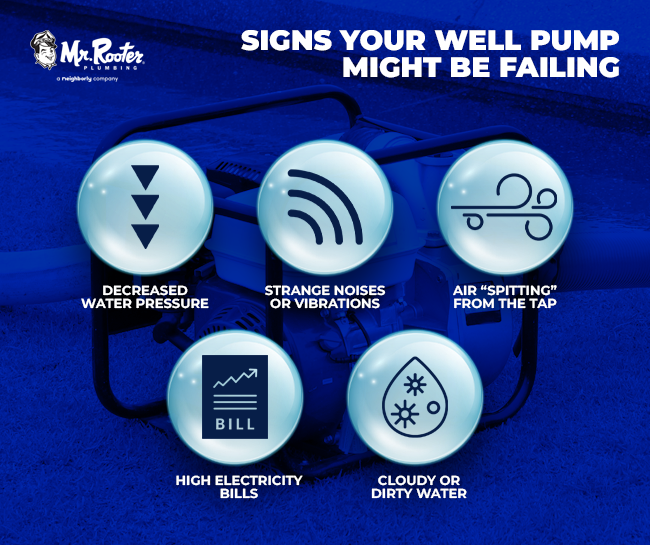
Identifying the early signs of a failing well pump can prevent a minor issue from becoming a major inconvenience. Here are common symptoms to watch out for:
- Decreased Water Pressure: A gradual or sudden drop in water pressure is often the first sign of trouble.
- Strange Noises or Vibrations: Unusual sounds from the pump or plumbing might indicate mechanical problems.
- Air “Spitting” From the Tap: If air is coming out of your faucet, it could suggest the pump is struggling to draw water.
- High Electricity Bills: An inefficient well pump may be working harder than necessary, reflecting in your utility costs.
- Cloudy or Dirty Water: This might indicate the pump is pulling in sediment from the well’s bottom.
💡 Recognizing these signs is crucial for catching well pump issues early. Early detection prevents major inconveniences and costly repairs.
Basic Troubleshooting Steps
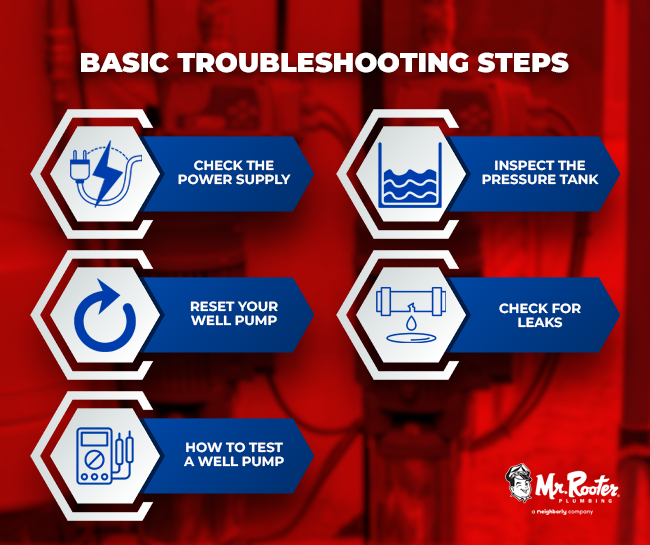
Before calling a professional, there are several steps you can take to diagnose and possibly fix your well pump issues:
- Check the Power Supply: Ensure the pump’s circuit breaker hasn’t tripped and that all switches are in the ‘on’ position.
- Inspect the Pressure Tank: Low pressure could be due to a problem with the pressure tank. Check the pressure gauge and ensure it’s not below the pump’s cut-in pressure.
- Reset Your Well Pump: Locate the reset button on your pump’s pressure switch. Turn off the power, wait a few minutes, and then turn it back on. If the pump doesn’t start, it might need professional attention.
- Check for Leaks: Inspect the pipes and pump for any signs of leaks, as this could lead to loss of pressure and inefficient pumping.
- How to Test a Well Pump: Using a multimeter, you can check the pump’s electrical continuity. If you’re unfamiliar with this tool, it may be best to call a professional.
💡Taking these steps regularly ensures your well pump operates smoothly, providing you with a consistent and reliable water source.
When to Call a Professional
If after basic troubleshooting your well pump is still not working correctly, it might be time to call a professional. Issues that typically require expert intervention include:
- Deep Well Pump Problems: Accessing and repairing these pumps is not a DIY job.
- Electrical Issues: Wiring problems can be dangerous and should be handled by a qualified electrician or technician.
- Persistent Low Pressure:This could indicate a problem deep within the well or with the pump itself.
Maintenance Tips to Extend Your Well Pump’s Life
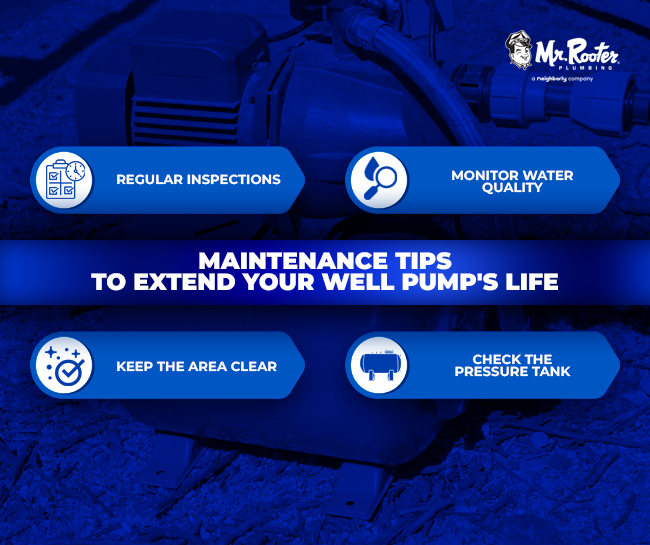
Regular maintenance can significantly extend the life of your well pump and prevent unexpected failures:
- Regular Inspections: Have a professional inspect and service your well pump at least once a year.
- Keep the Area Clear: Ensure the well cap is accessible and that the area around the well is clear of debris.
- Monitor Water Quality: Changes in water quality can indicate issues with the well or pump.
- Check the Pressure Tank: Regularly checking the pressure tank’s air charge can prevent the pump from cycling too frequently.
Regularly checking your well pump not only ensures a consistent water supply but can also prevent costly repairs down the line. By following the steps outlined in this guide, you’re taking proactive measures to maintain your well pump’s health. Remember, while DIY troubleshooting can resolve some issues, don’t hesitate to call in the professionals for complex problems or routine maintenance. Your well pump is an integral part of your home; treat it with the care it deserves.